Sunday 30 June 2013

Teacup collage

Being British and living abroad, I have become quite attached to things that remind me of home. I'm also far more aware of all the iconic things about my home that foreigners see as 'British'. Anything to do with tea is definitely on the list...


Today, inspired by a gorgeous artwork by Teresa Sheeley, I made this hanging teacup collage.


Little paper-twist flower magnets

These little paper flower-like magnets are really easy and cute.


Peg magnets

Made some peg fridge magnets today. Great way of pinning notes to the fridge.


Thursday 27 June 2013

Paperchain wreaths

This is one of the easiest things I've tried recently. Cut strips of paper, fold into heart shapes, staple. The small ones would look good on a Christmas tree too.


Peg wreath attempt no.1

Had a go at making my own clothes peg wreath yesterday with some lovely paper I bought and an old wire coat hanger. This is the result:


One thing I would recommend if you're doing a rainbow effect like this is to cover your frame in blank pegs first to see how many fit around it. Then make sure they divide between an equal number of different papers to make sure your colours match up when you've gone all the way round.


Wednesday 26 June 2013

Hanging paper flowers. Or jelly fish?

Yesterday I had a go at making some hanging flower decorations. They are supposed to be inspired by fuschias, but ended up looking a bit like jelly fish, especially from a distance, so could be a fun childrens-room project too I guess!


Crepe paper flowers 2

A slightly less fiddly way of making the flowers in my last post (here).


Make the paper/wire bud as described before. Overlap the petals in a row along thin double sided tape, and then wrap around the bud. This took less time and fewer petals to create each flower than when sticking them on individually.


Monday 24 June 2013

Crepe paper flowers

Today I tried out a tutorial for paper flowers I've seen on Pinterest. I tried to find the original web link to post here, but I can't, so my take on it will have to do.


This particular project was made all the more fun by the presence of our new kitten, who is quite taken with craft activities herself - though more in a destructive than creative way! She may become a regular blog feature.


 What I did:


Sunday 23 June 2013

Watercolour Blues

Recently I made some new greetings cards.


I painted out a few different pages washed with greens and blues, and when I cut up the green coloured pages they reminded me a little of England's rolling hills and threatening skies, so I drew on some tree shapes and developed a new selection of painted cards called 'trees'.

Monday 17 June 2013

Paper flowers wall art

Having seen a few examples of this idea I gave it a go using an old artist's catalogue. Having a portfolio full of thick, glossy paper and bright colours worked better than a magazine.


I cut each page into a rough circle and then cut a spiral into the centre, the spiral width getting thinner as I went. Starting at the centre I then wrapped the spiral around itself and used double sided tape to tape the end closed. Then I arranged on card and glued in place. Looks great on my bedroom wall.


Saturday 15 June 2013

Watercolour rain

I've seen a few things like this on Pinterest recently - block silhouettes under drippy paint. This is my first attempt. I used watercolours on a sheet of heavy watercolour paper, and paper-cut shapes.


Friday 14 June 2013

Little paper butterflies

I bought these die-cut butterflies from an Ebay seller called lesliepilot, who claims to have developed her prints over years. With 100 pieces in a pack at only 99p these are great for numerous crafts. I also cut/tore my own additional butterflies from old book-pages.


The obvious thing to do is layer the different sizes, so my first results look like this. Good for hanging decorations or gift wrap accessories.


Fabric and paper wall art

I recently found some fabric that I've had since high school. We had a scraps bin in the art studio that we could rummage in for school projects, and I couldn't part with this particular vibrant sequined piece that I found.


Ten years later I decided it wasn't doing any good sitting in a box, so I tested my newly aquired sewing machine and patched it on to some heavy handmade paper and decorated with beads and buttons.


Thursday 13 June 2013

Magazine Art

One of the first things I did with my new-found free time was create a Pinterest board of projects I wanted to try out. One of the simplest and boldest trending ideas is making simple, bright silhouettes from colourful old magazines. The original post that I saw can be found here, at ilovedecoration.com. I shredded my magazine strips and found some outlines to trace onto card, choosing a butterfly.


Instead of cutting my strips to fit the shape, I stuck them all over the reverse of the tracing, overlapping the pencil borders, and then cut my shape out with a craft scalpel afterwards.


Easy, and I might even find a use for the negative.

Scratching the Canvas


Dear Readers

I have spent many years starting art and craft projects in precious free moments, before leaving them half finished in my spare room, never to be seen again. I have now been granted the time and opportunity to really indulge in my hobby, and with all the other blogs out there and social media sites sharing so many great ideas I cannot fail to be inspired.


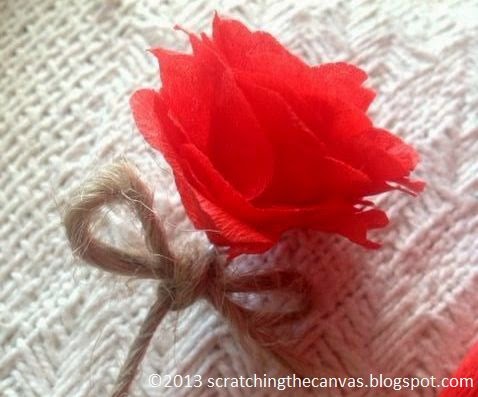
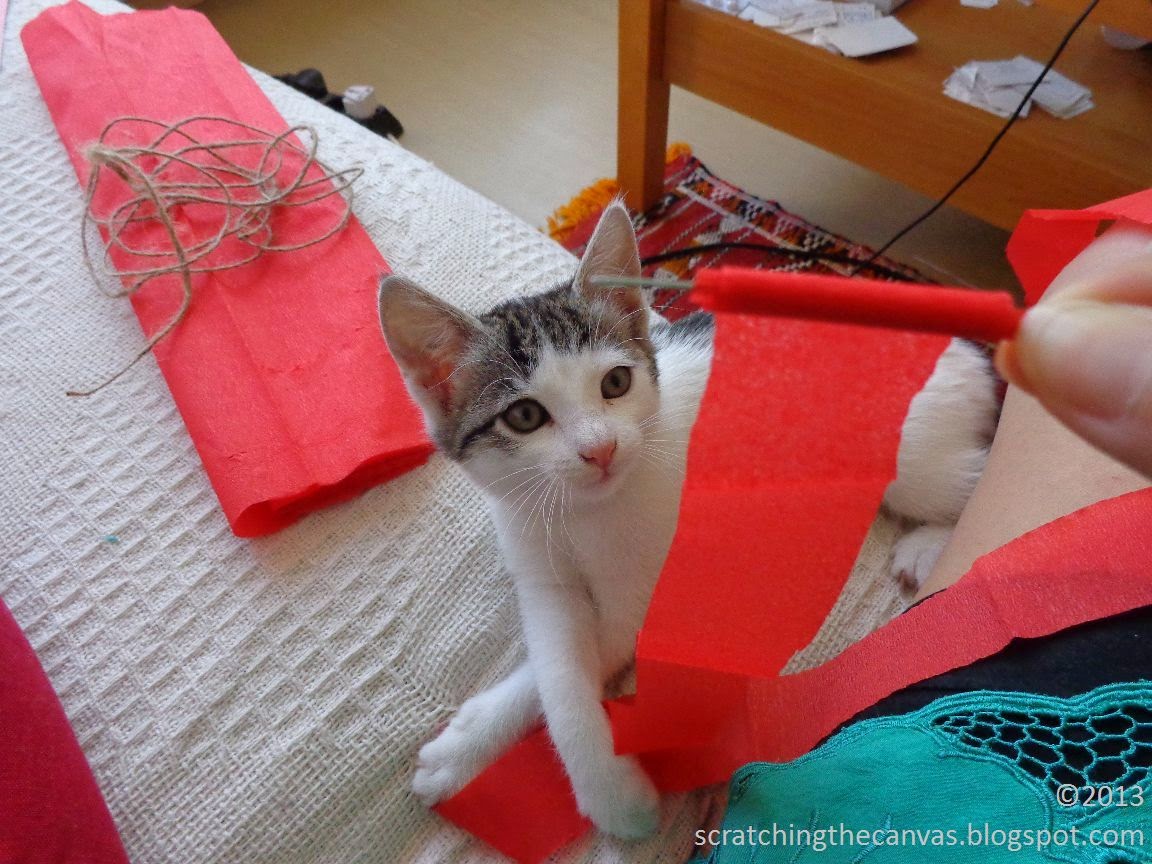
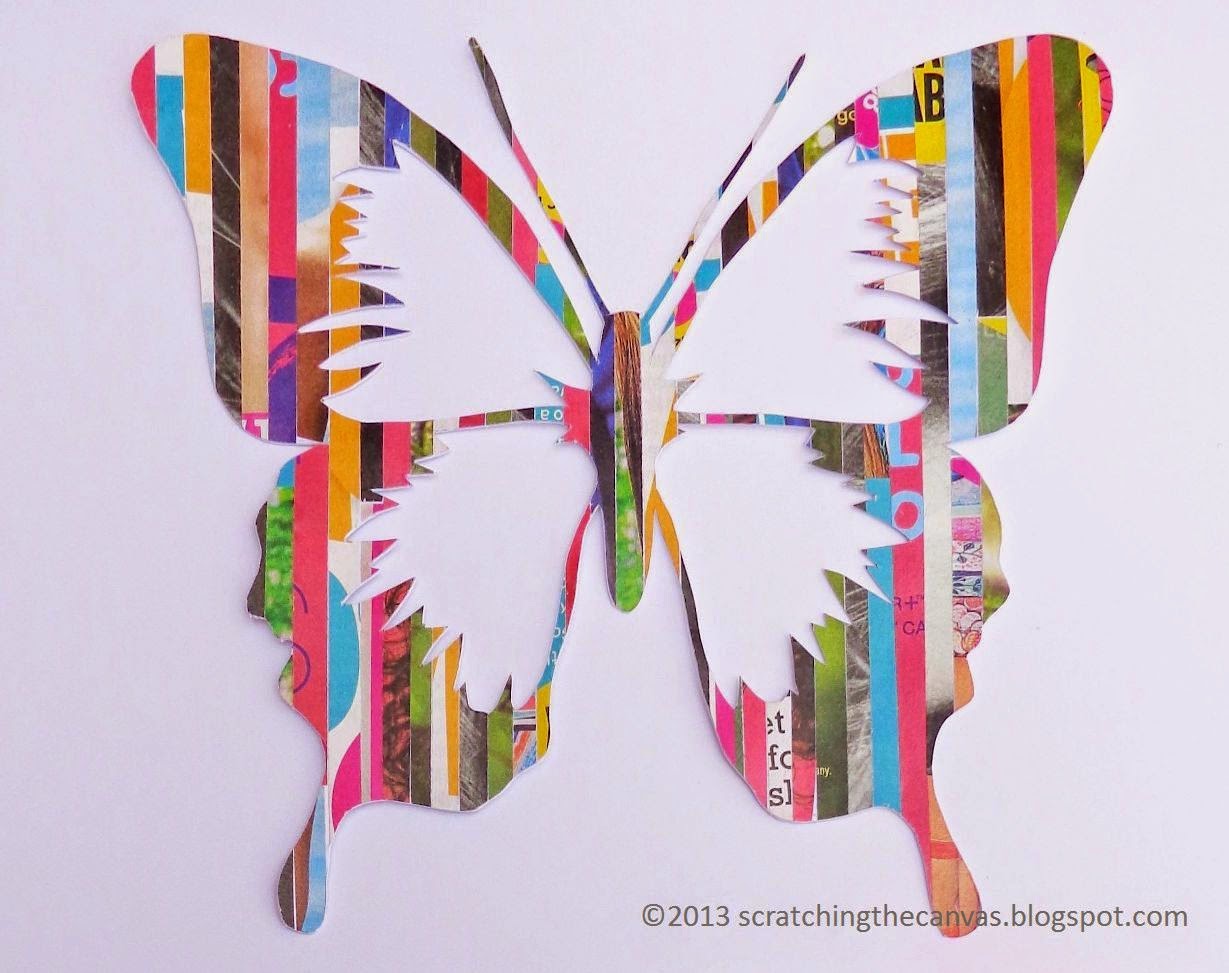
I have a tendency to try to do everything at once, demonstrated by the fact that I am currently surrounded by shredded magazine paper, Christmas cracker snaps, twine, clay, glue, needles and thread, so I hope this page will help me add structure to my projects. I plan to try my hand at some new skills, using the existing ideas people are sharing online, and hopefully I can contribute my own crafts back into the pot as well.

I hope you enjoy my page. Please share my ideas and allow us to influence each other's creativity.
Dot